Instant Pot Greek Yogurt
Although my mom was constantly making yogurt when I was young, I never in my wildest dreams thought I would be doing the same. After all, there are so many more flavors in the grocery store than there were when I was growing up. But, and this goes back to my childhood, I love fresh yogurt with honey in it…to the point I have it just about everyday for lunch. So I started cruising the internet for yogurt instant pot recipes. They were all pretty much the same…and you’ll see why. Here’s what I do at least once a week…sometimes more if my husband is partaking as well.
 The first things you need are an Instant Pot and milk. It doesn’t matter how much milk. Because we eat so much of it, I tend to use a gallon at a time. Pour the milk into the pot. You can use 2% milk if you wish, but I find whole milk makes the creamiest yogurt.
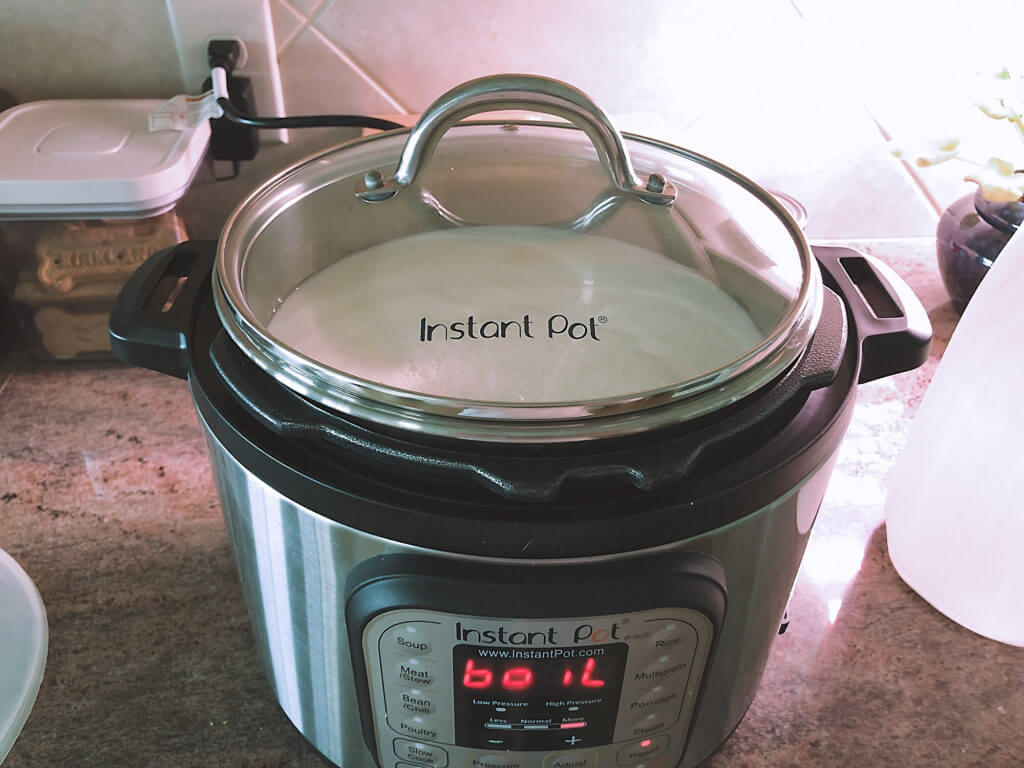
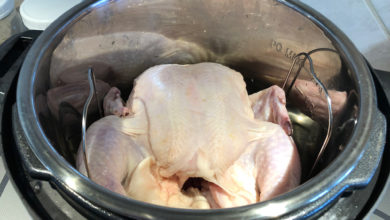
Place a lid on the pot and press the “Yogurt” button. Hit the “Adjust” button until the pot reads boil. It will take about an hour for this step. The IP will beep and read “Yogt” when it is done heating the milk. Using an instant read thermometer, check the milk to ensure it has reached at least 180°. And, by the way, it’s not necessary to purchase a glass lid for the instant pot. If you have a pan lid that fits (preferably glass so you can check the yogurt without lifting the lid), you can use that. I bought mine because I thought I would be using my IP as a crock pot. After 2 years, I’ve yet to use the slow cook function…go figure.
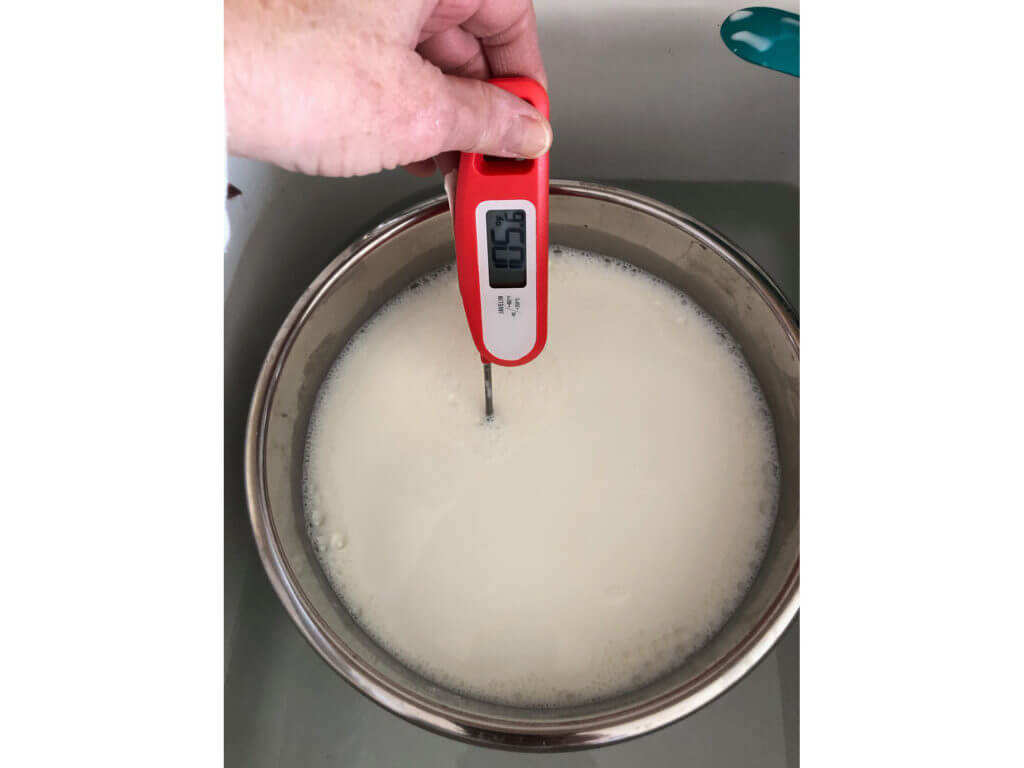 The next step is to cool down the temperature of the milk to somewhere between 105° and 115°. Adding the yogurt starter at any higher a temperature will kill the bacterial cultures. I normally place my pot in the kitchen sink and surround it with cold water. It takes 5-10 minutes to cool down using this method. Use an instant read thermometer to verify you have cooled the milk below 115°.
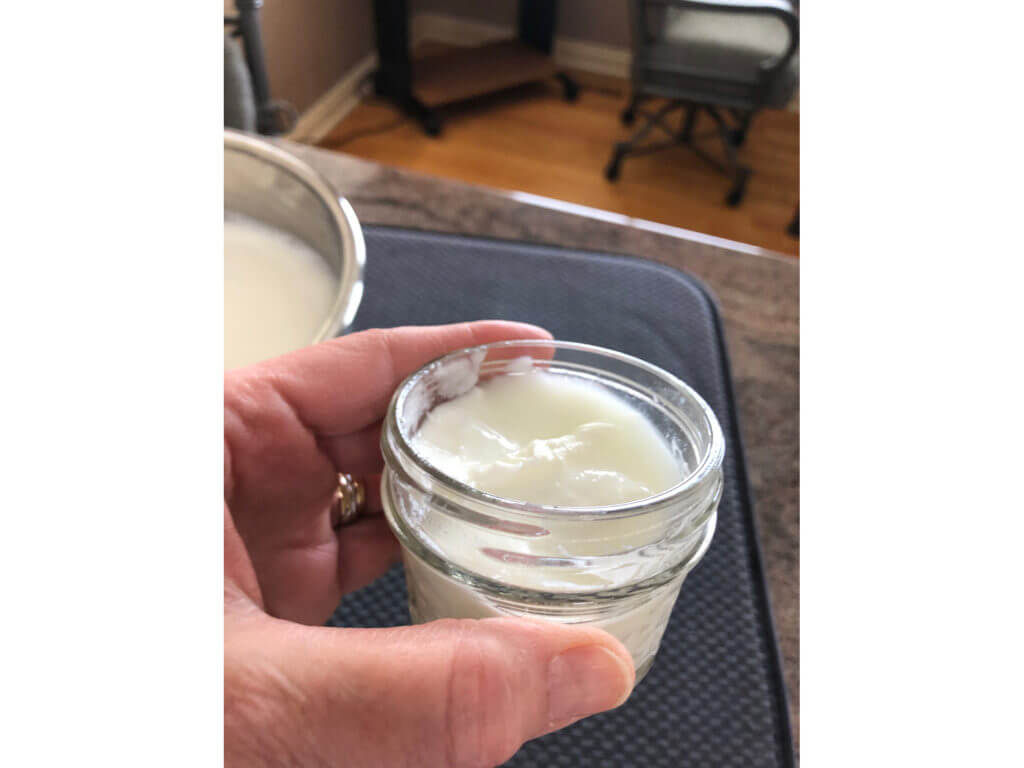 Once the milk is cooled, it’s time to add the yogurt starter. Each time I make a batch, I reserve a couple of tablespoons in a small mason jar for my next batch. However, any plain yogurt with “Active Bacterial Cultures” will work. Another option is to use a yogurt starter such as Yoģourmet. I’ve had great success with this when I forget to reserve my own starter. Gently stir your chosen starter into the pot.
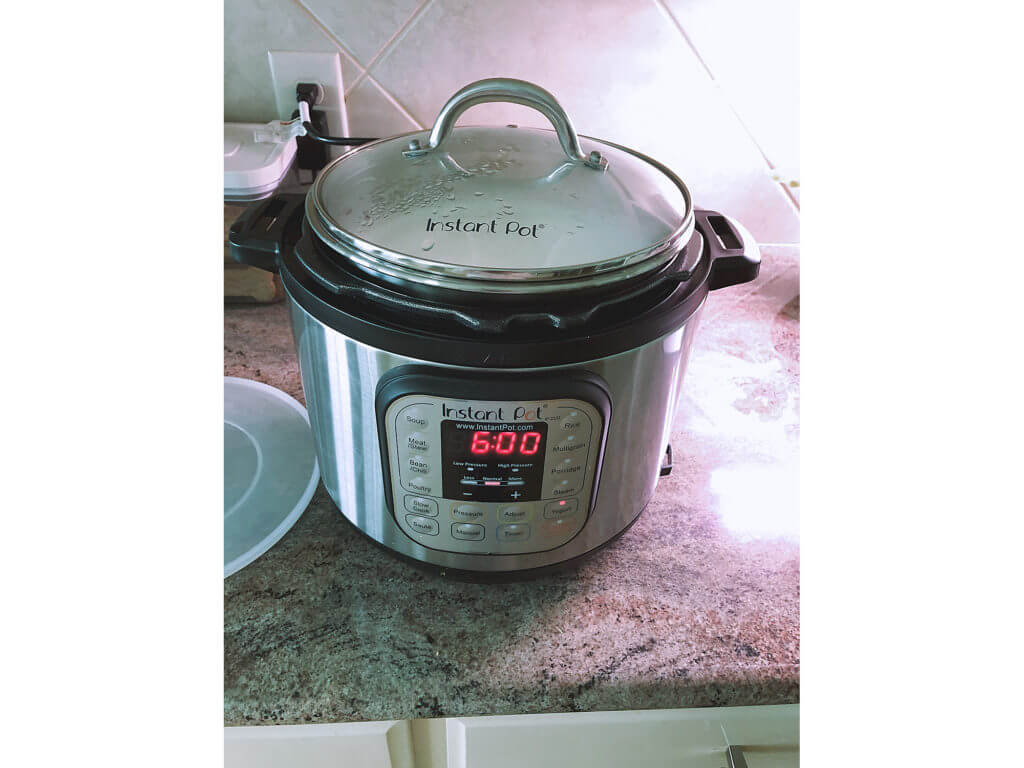 Now it’s time to incubate the milk to turn it into yogurt. Select the “Yogurt” button and hit the “adjust” button to select the “Normal” function. Press the plus or minus buttons to adjust the incubation time. Most recipes recommend 8-12 hours. The longer the period, the more tangy the yogurt gets. This part is a matter of personal taste. I set mine for 6 hours as I like my yogurt mild. While the yogurt is incubating try not to move the pot and resist the temptation to open the lid. If you think you might like tangier yogurt, definitely set the timer for a longer period. After six hours, it’s okay to open the lid to do taste tests.
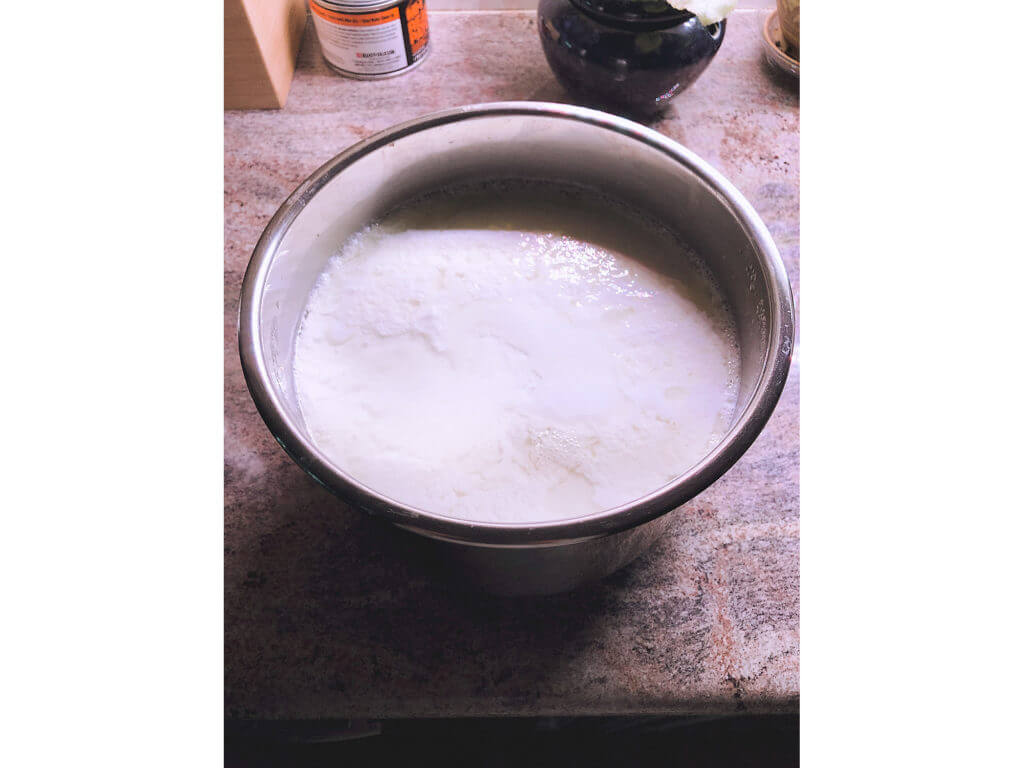 Here’s what mine looks like after six hours. Some liquid floating on top, but definitely yogurt underneath.
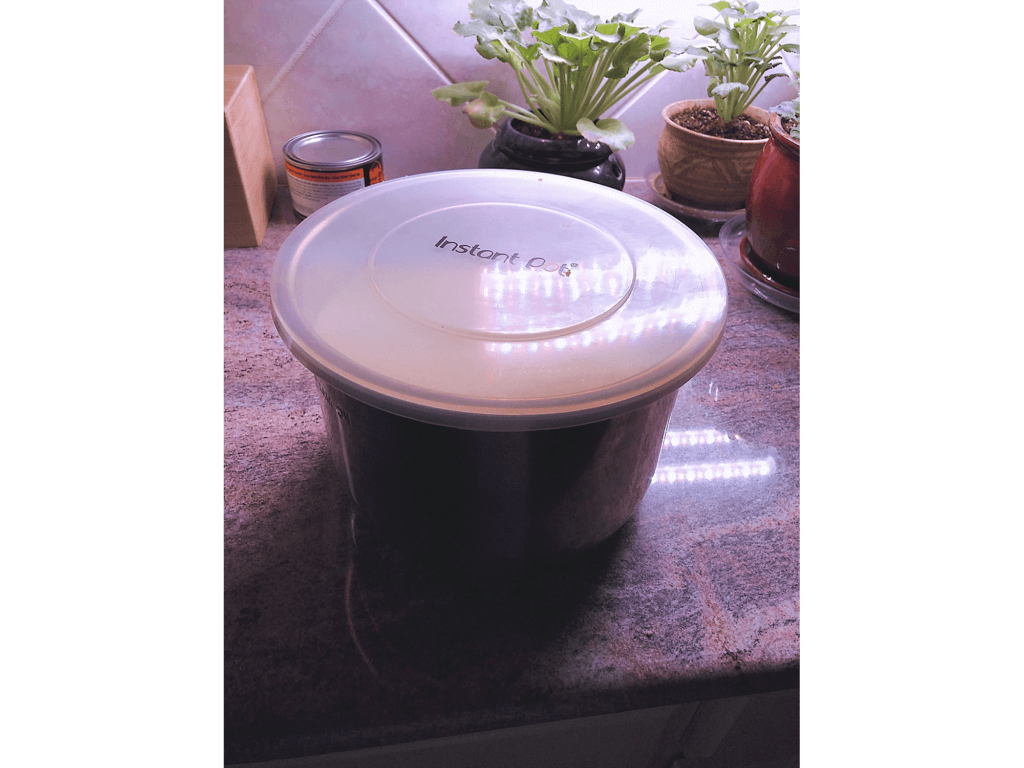
Once the yogurt has reached your desired taste, it’s time to cover it and set it in the refrigerator for a few hours to stop the fermentation process. I highly recommend the silicone lid for the Instant Pot if you find you wish to store various dishes in the pot itself. But plastic wrap will also work for this step. Since I make my yogurt during the day, I will usually refrigerate overnight.
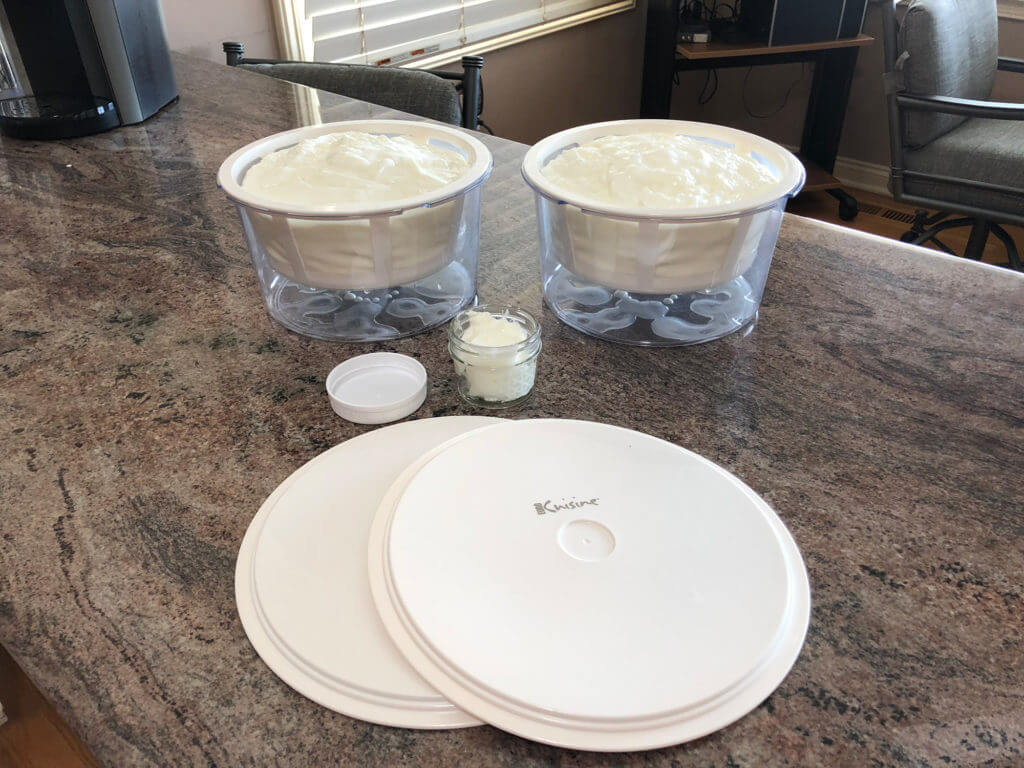 The next step in the process is to reserve a couple of tablespoons as starter for the next batch. Cover and store starter in refrigerator. To turn our yogurt into Greek yogurt, the final step of the process is to strain it. I purchased a couple Euro Cuisine GY50 Greek Yogurt Makers at Amazon. They seem somewhat flimsy, but I’ve had them almost two years and they are holding up fine. I hand wash and use silicone spoons and spatulas when removing the yogurt. I will say the price has increased substantially since I purchased them. And there is now a stainless steal version, which costs $10 more than the nylon version. However, the straining process can be done with a regular stainless steel strainer set in a bowl and lined with sturdy paper towels or coffee filters. This process takes several hours, so cover and return to the refrigerator. I usually just leave it overnight. The longer it is strained, the thicker it will get.
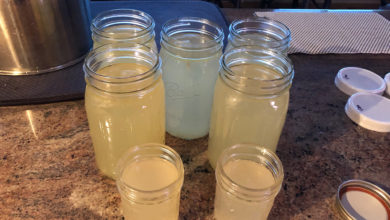
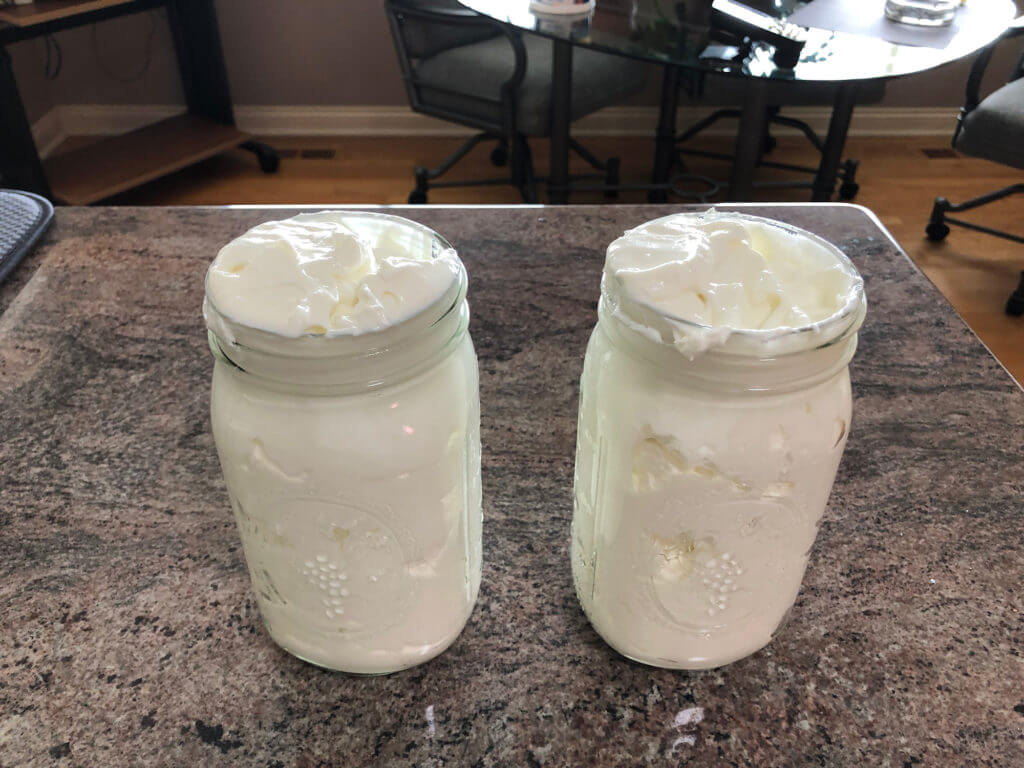
 Lots of whey…it’s ready for transfer to containers.
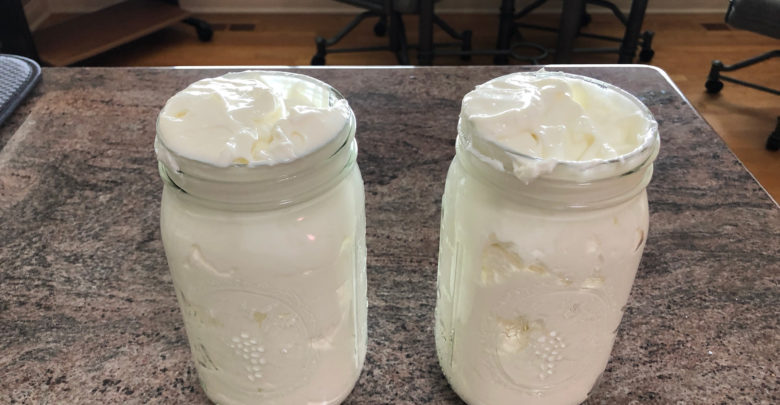
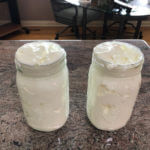
 Scoop yogurt into containers. As you can see I ended up with two quarts of very thick Greek yogurt from my gallon jug of milk.
- 1 gallon whole milk
- 2-4 tbsp yogurt starter
-
Pour the milk into the pot. Place lid on pot and hit YOGURT button. Hit ADJUST until screen reads BOIL. Once pot beeps, use an instant read thermometer to verify milk has reached at least 180°. If milk is still below 180°, repeat the BOIL process again (it won't take as long the second time around).
-
Cool milk to between 105° and 115°. Gently stir in yogurt starter. Place lid on pot. Hit YOGURT button. Hit ADJUST until screen shows NORMAL setting. Adjust time to between 6 and 12 hours.
-
After 6 hours, it is okay to remove lid to perform taste tests. The longer the yogurt incubates, the more tangy it will taste.
-
Once yogurt has reached desired tanginess, remove pot, cover it, and refrigerate for several hours to stop the fermentation process.
-
After several hours of refrigeration, scoop the yogurt into strainers to reduce the whey. This process will take at least another 3 hours. The longer it is strained, the thicker it will get.
-
Once desired thickness has been reached, scoop yogurt into containers, cover, and store in refrigerator for up to 2 weeks.