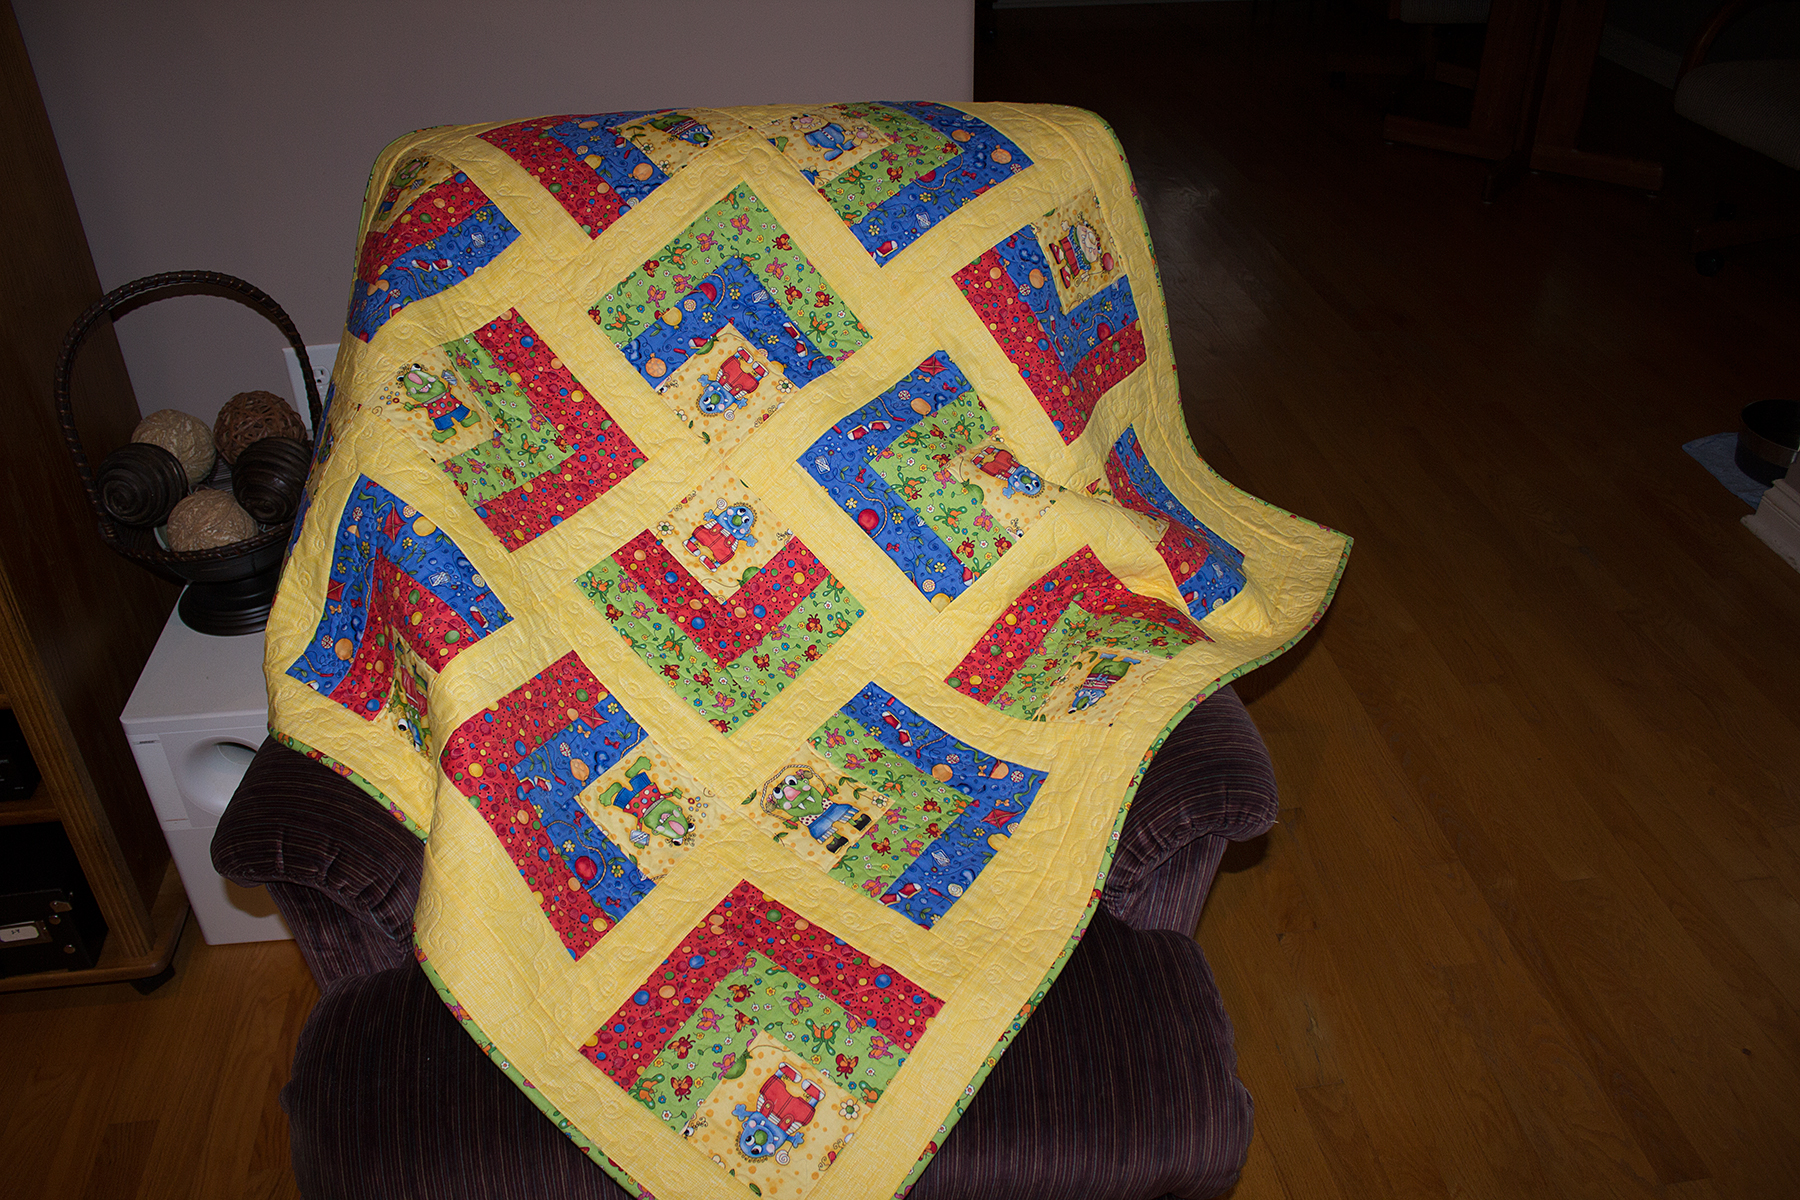
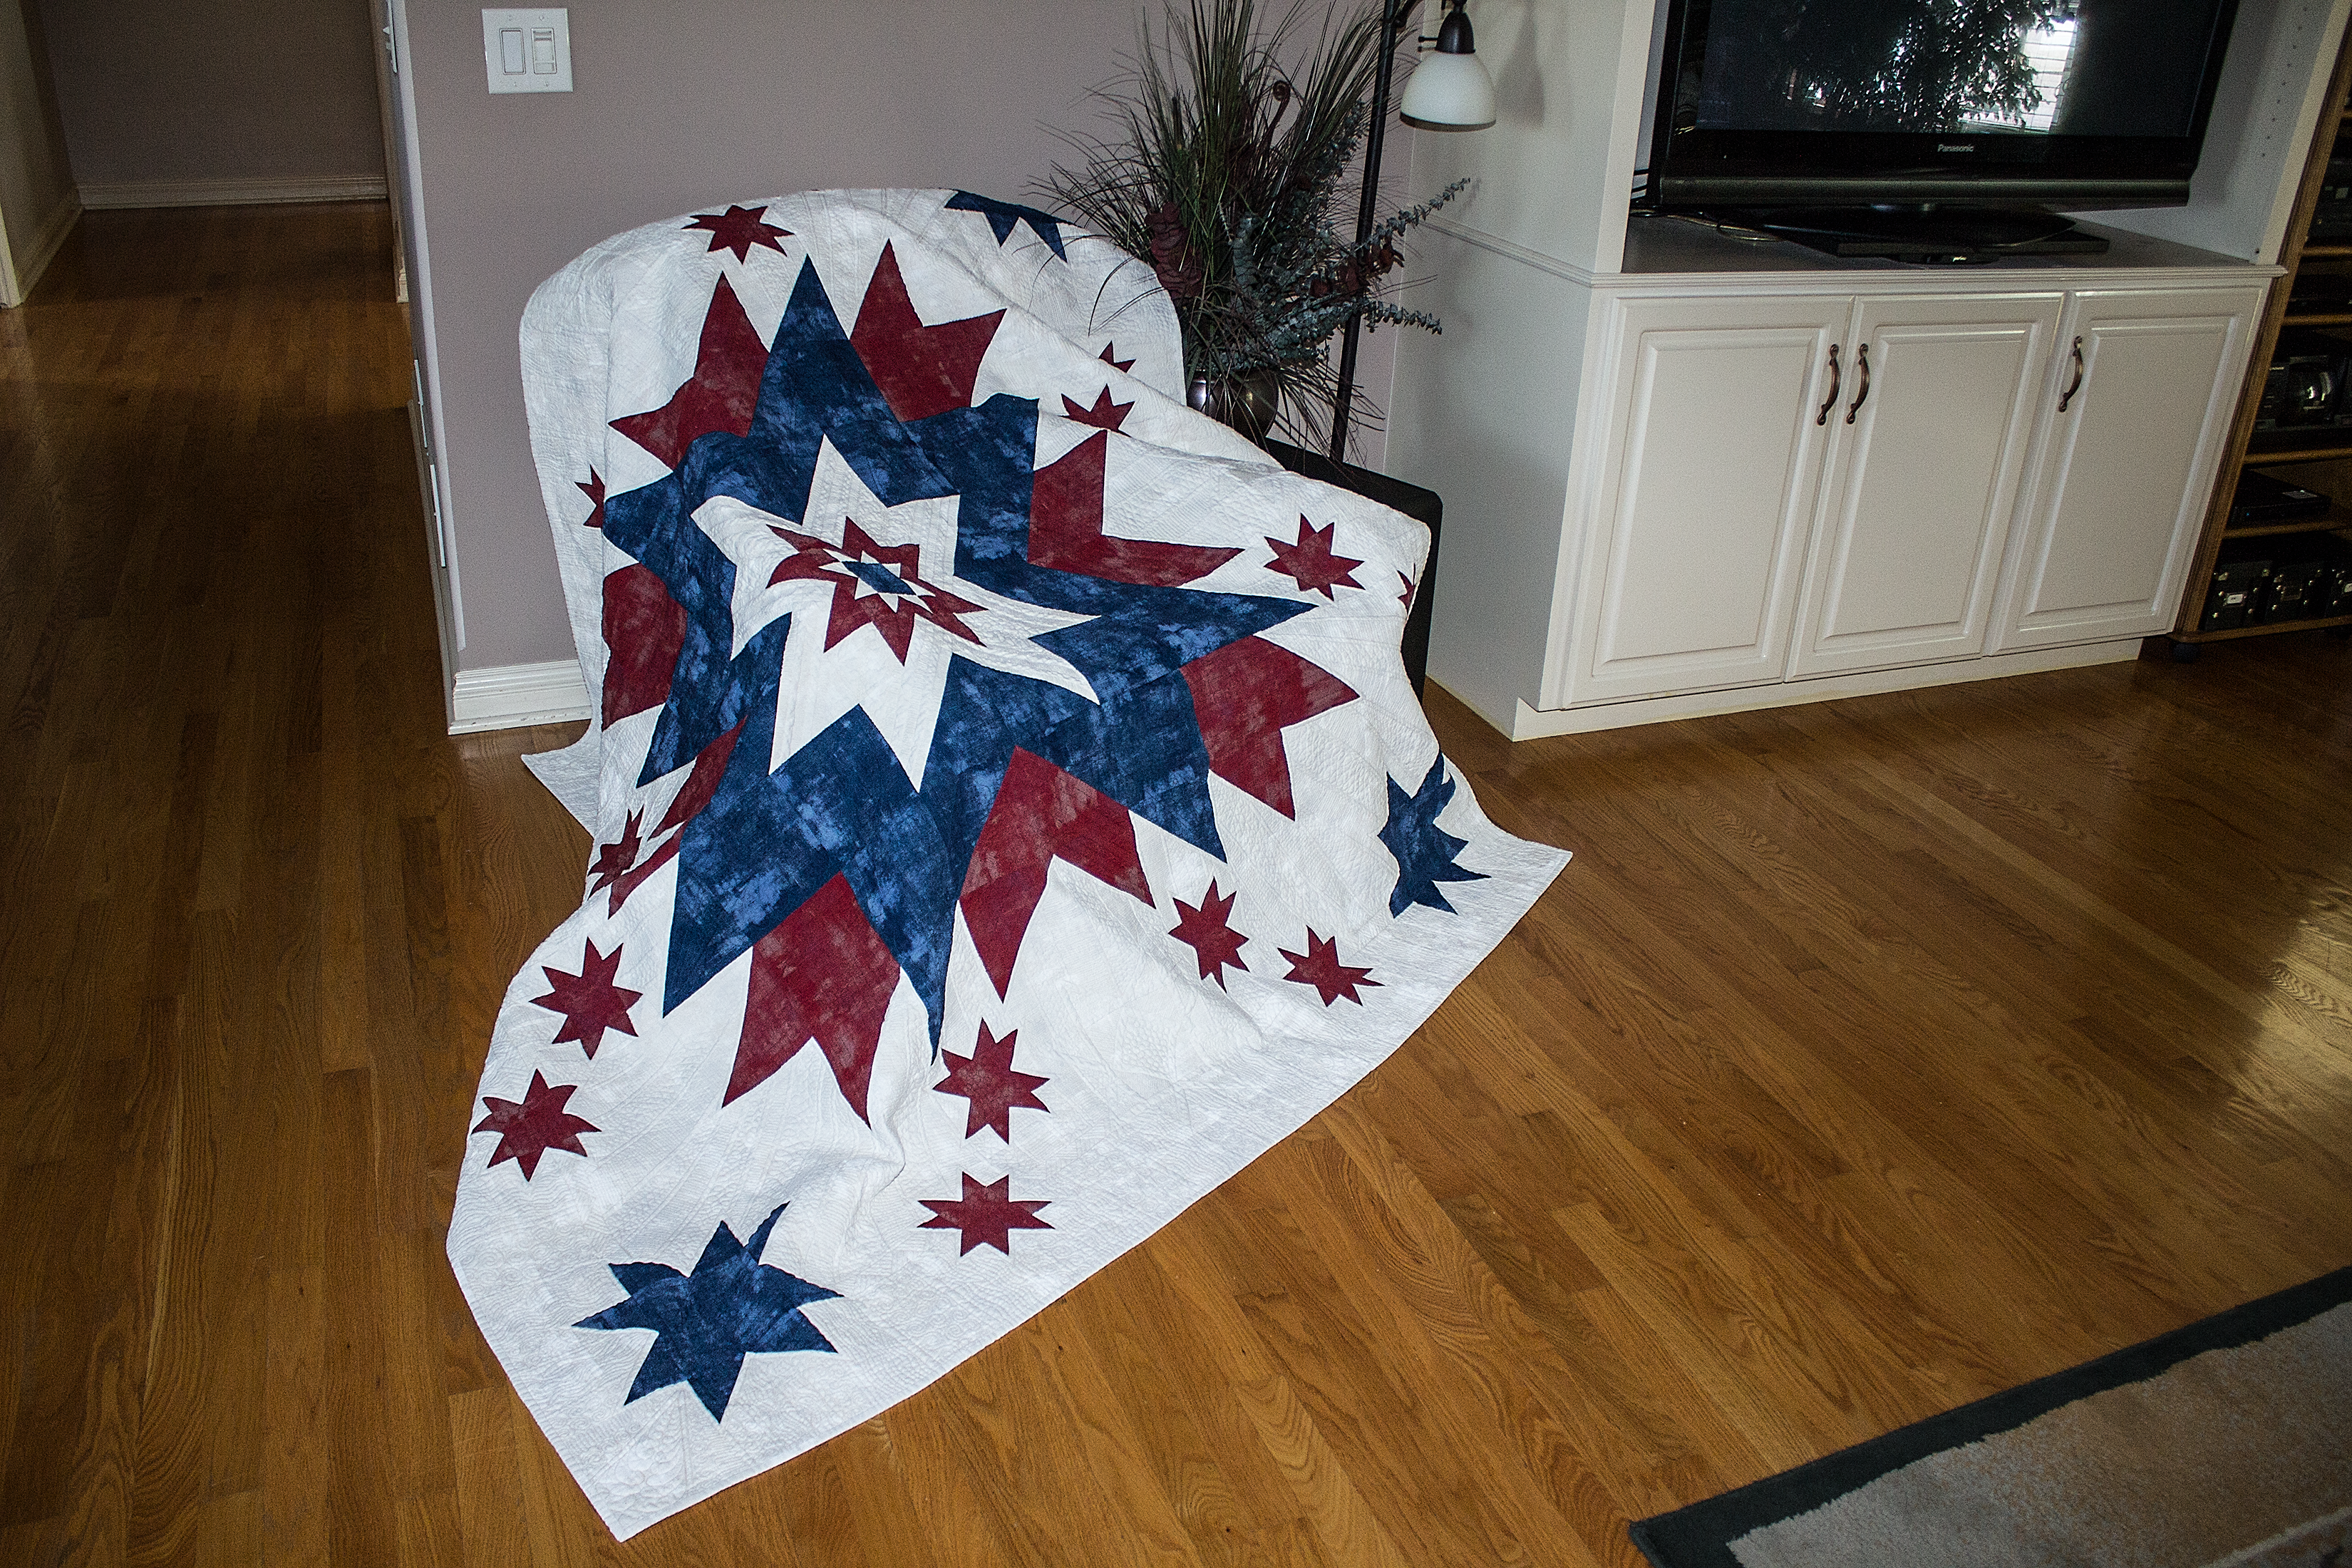
Free Quilt PatternsQuilting
Scrub Mask

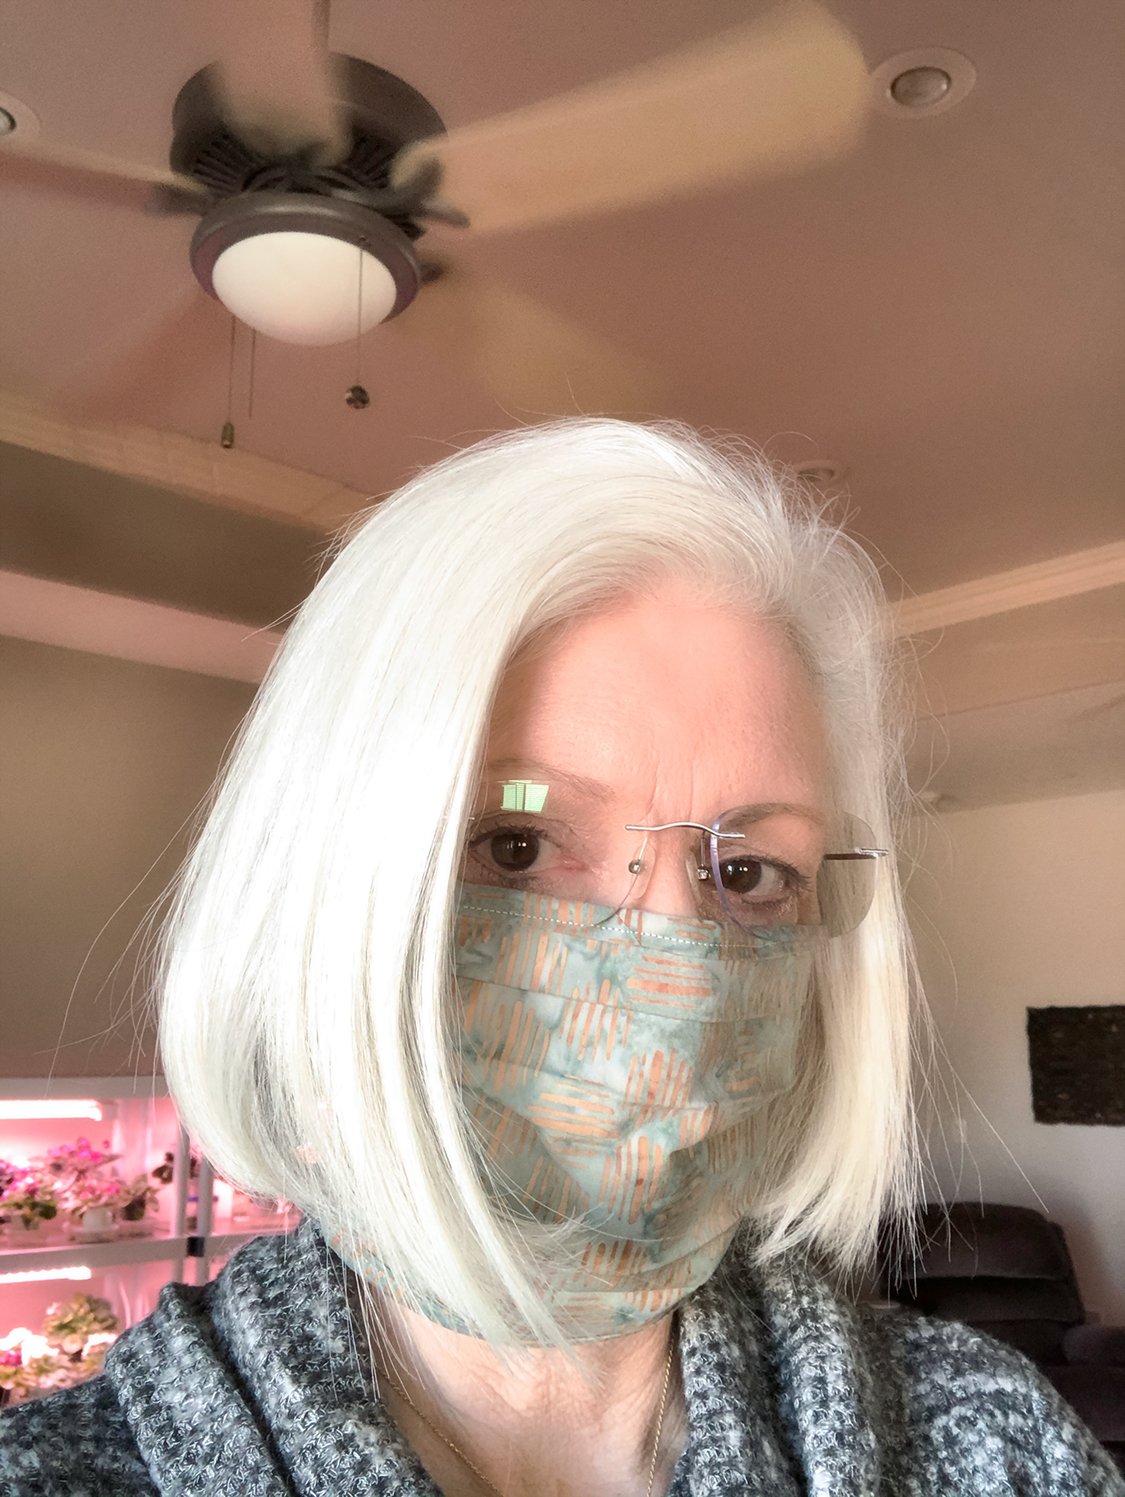
Like many, I’ve taken a break from quilting to make face masks. I have experimented with five or six different patterns I’ve found, and finally came up with a pattern I like that goes together quickly, compensates for the inability to find elastic, and fits comfortably. Since I have enough fat quarters in my stash to make hundreds of masks, I decided to reduce that ridiculous number and made my pattern fat-quarter friendly. 😉
I want to emphasize as so many others have that homemade face masks are not medically certified to prevent getting COVID-19! Your best options to reduce the spread of the virus are:
-
- Stay home!
- If you must go out, practice social distancing (6 feet or more).
- Wear a mask when you leave home as it will help reduce the ability of spreading COVID-19 to someone else. You may have COVID-19 without symptoms. Coughing or sneezing into the mask reduces the distance the mist/spray can travel. Additionally, if like me you constantly touch your face, it will reduce your ability to do so after touching other surfaces. And most importantly, it reserves our nation’s limited medical-grade surgical and N95 masks for our medical professionals.
Things I don’t like about wearing fabric masks:
-
- I wear glasses and every time I take a breath, it fogs up my glasses. Inserting wires to press the mask against my face made no difference. I finally figured out that moving my glasses down my nose just a wee bit eliminated that issue…who knew.
- After a time, the mask is hot to wear. Fortunately, my outings are limited and short in duration. I could not imagine wearing this for hours at a time…especially once summer sets in.
What you need:
-
- 1 fat quarter (18″ x 22″)
- 1 lightweight fusible interfacing rectangle 7″ x 8½” (optional)
Cutting Instructions:
-
- Fold fat quarter so that the two 18″ ends are together
- Cut one 7½” strip and five 1½” strips
- Cut the 7½” strip into two rectangles 7½” x 9″
Assembly:
-
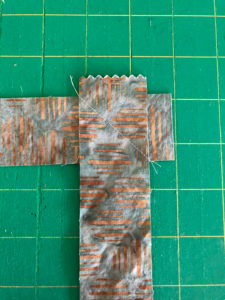
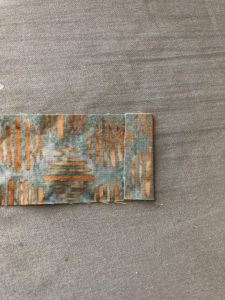
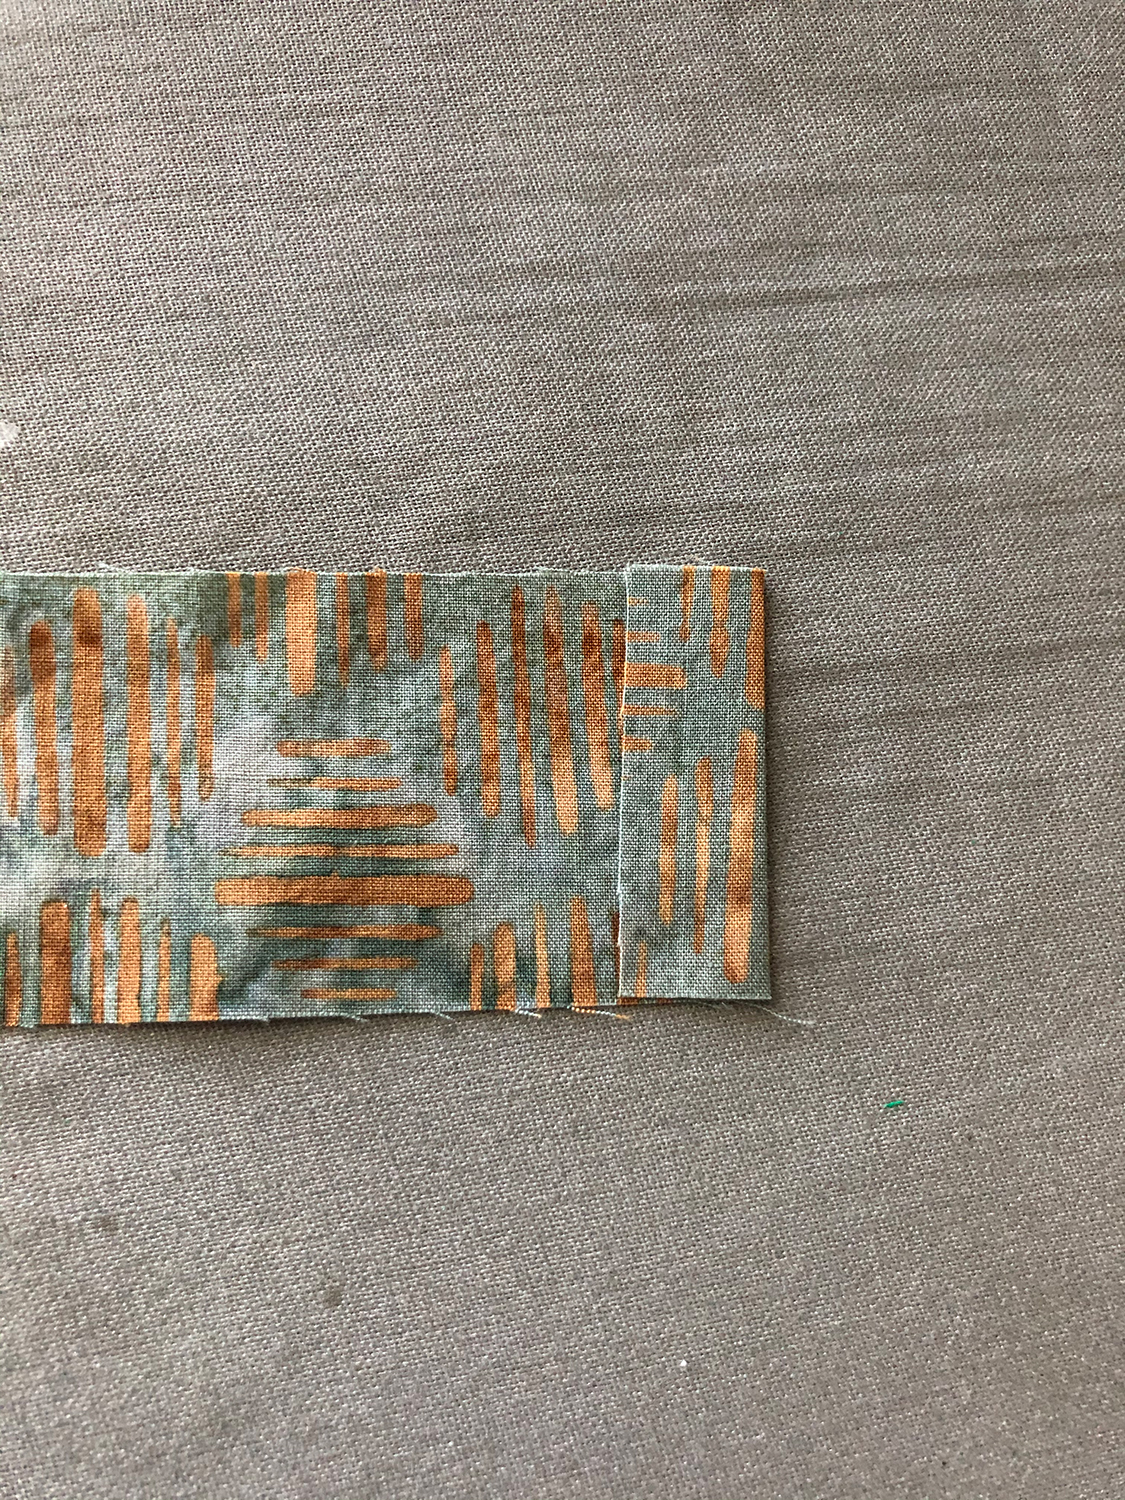
- Sew the two 1½” strips together end-to-end as shown. Trim seam allowance and press seam open. Repeat for a second tie.
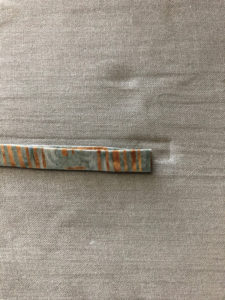
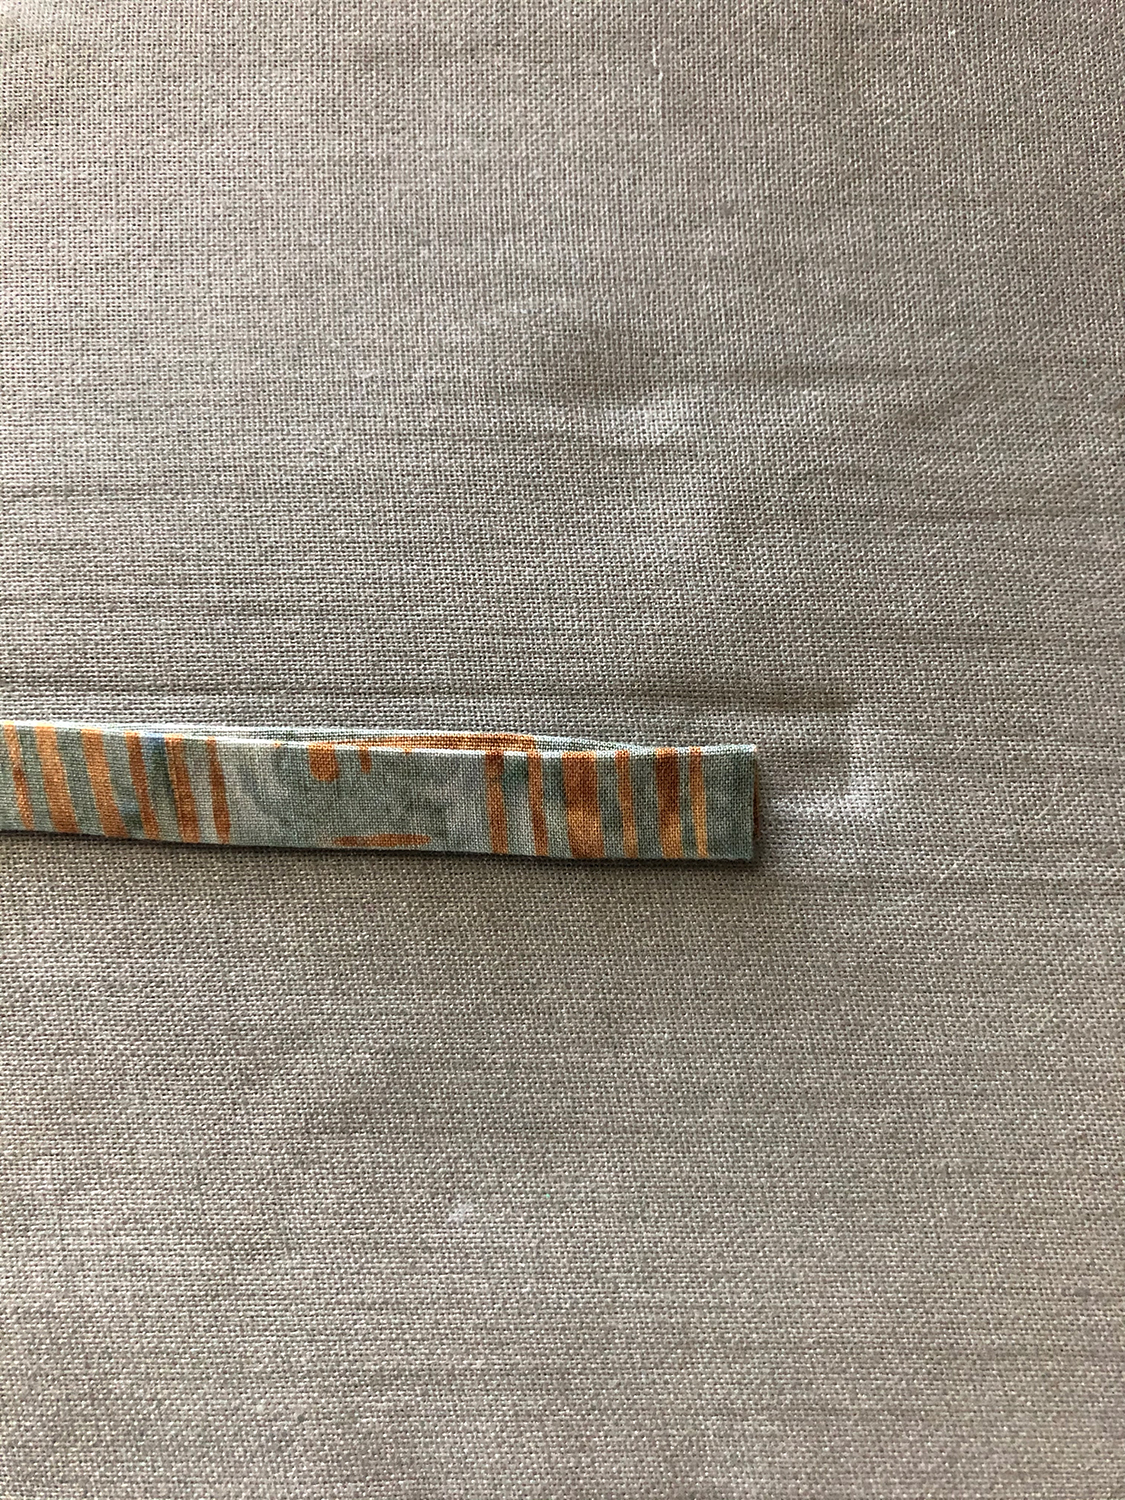
- Press ½ inch of each end over as shown. Press sides to middle wrong sides together as shown. Fold over and press once more. You now have two long ties to be attached to the top and bottom of the mask as binding and tie. For the remaining single strip, eliminate folding over the ends; repeat the remaining fold over procedures to form the side binding.

- Iron interfacing to wrong side of one of the 7½” x 9” rectangles. This step is optional but I wanted to provide an extra layer of protection.
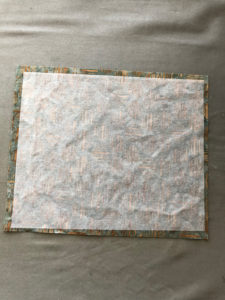
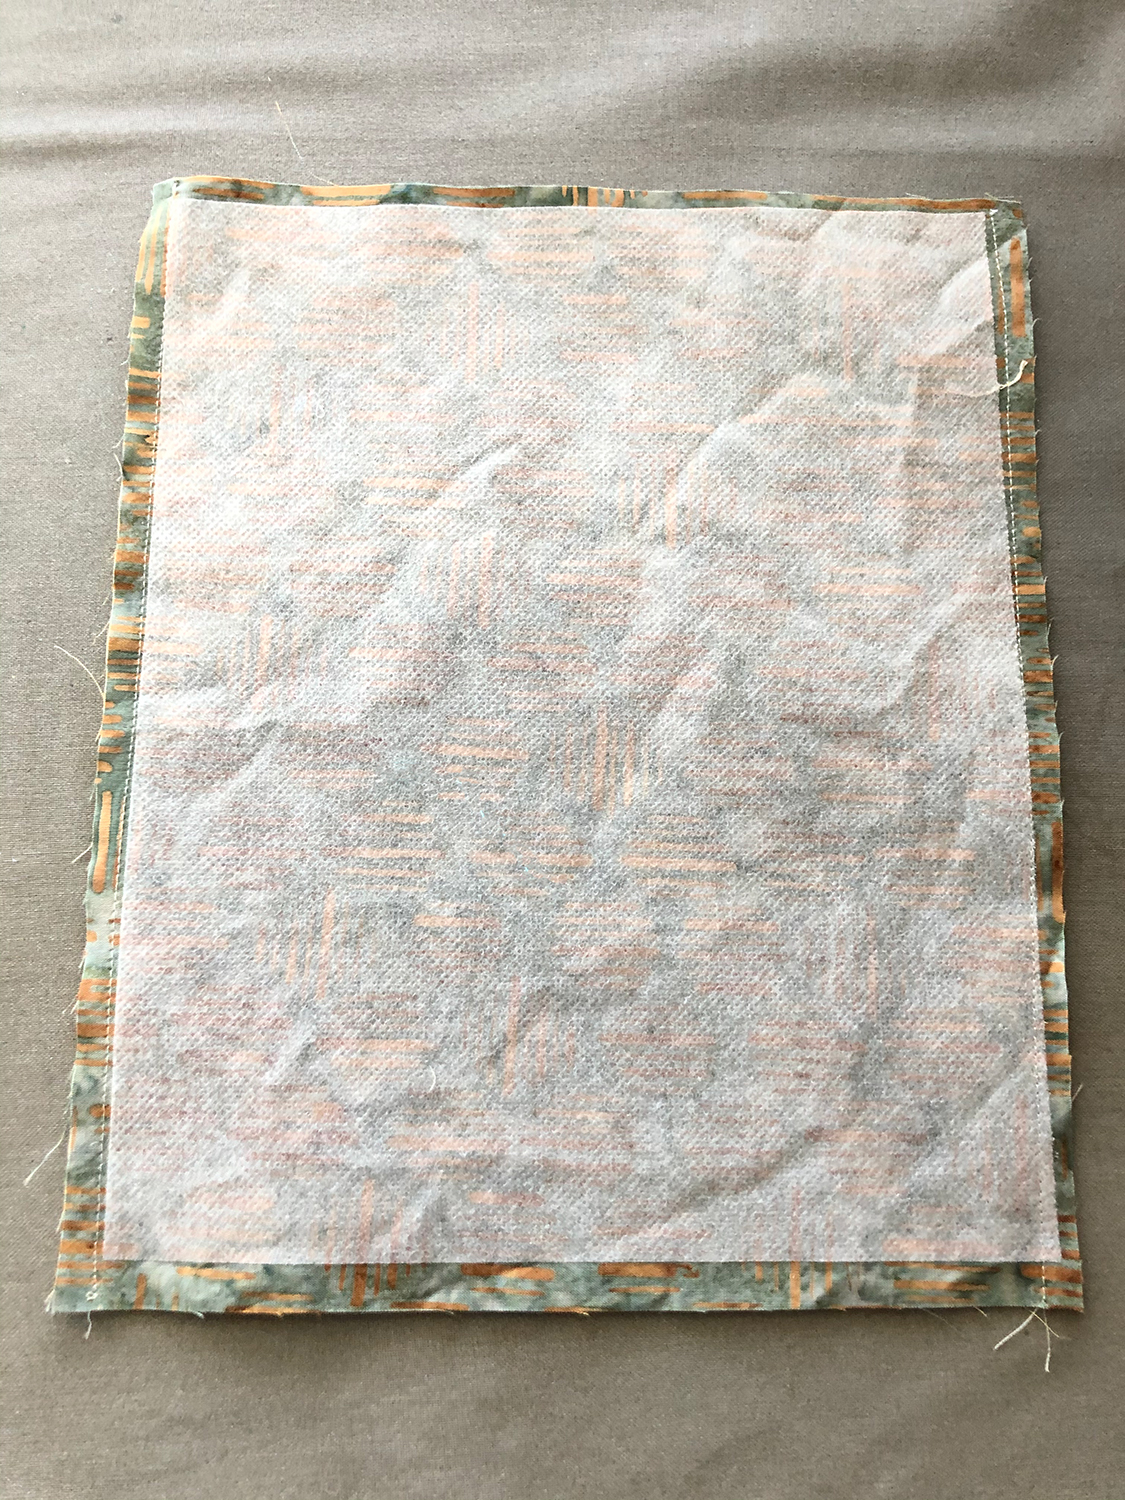
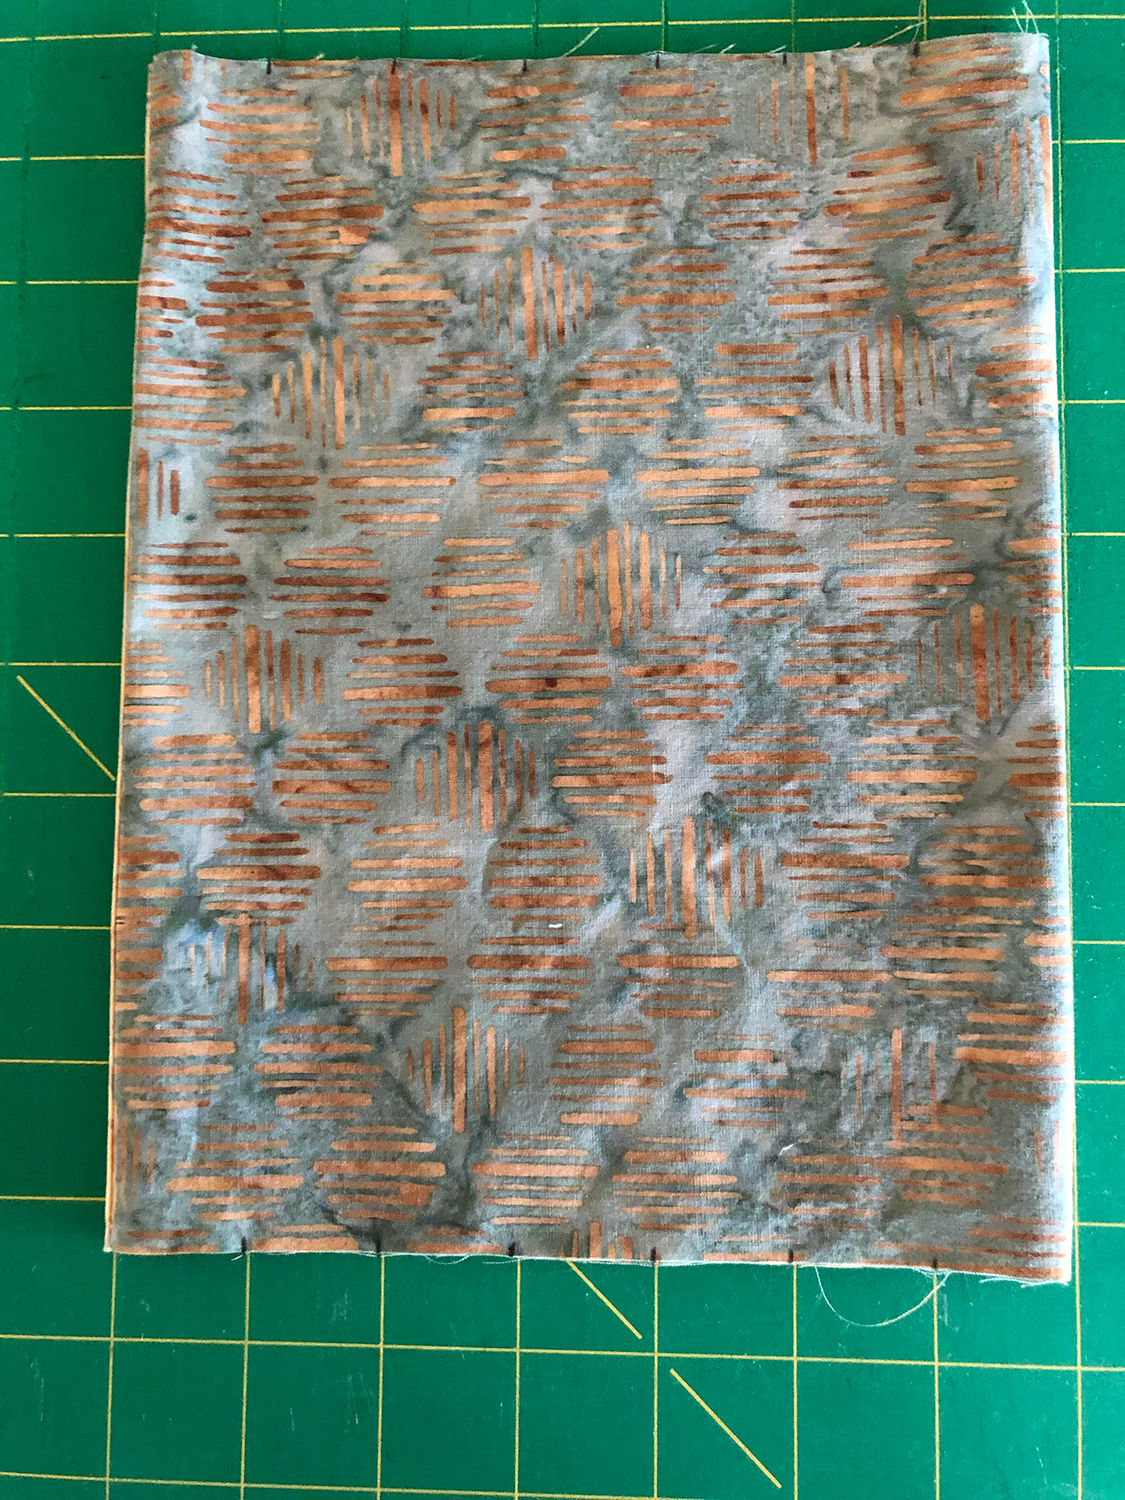
- It is recommended that the inside fabric be a different pattern or color from the outside so that wearer can differentiate the inside from the outside. Since I am using batik fabrics I chose to use two fat quarters and make two masks at a time as it is usually impossible to determine right and wrongs sides of a batik fabric. If you are using a single fabric that clearly indicates right and wrong sides, place wrong side of non-interfaced rectangle to right side of interfaced rectangle and sew a ¼-inch seam allowance along the long sides. By doing this, the wearer will be able to determine the inside versus outside of the mask. If you are using two fabrics, place the two rectangles right sides together (one interfaced and one non-interfaced) and sew a ¼-inch seam allowance along the long sides. This option allows the wearer to determine which fabric will face outward that day. Turn tube right side out and press.

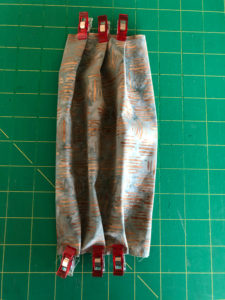
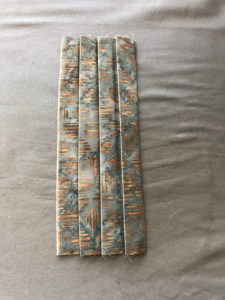
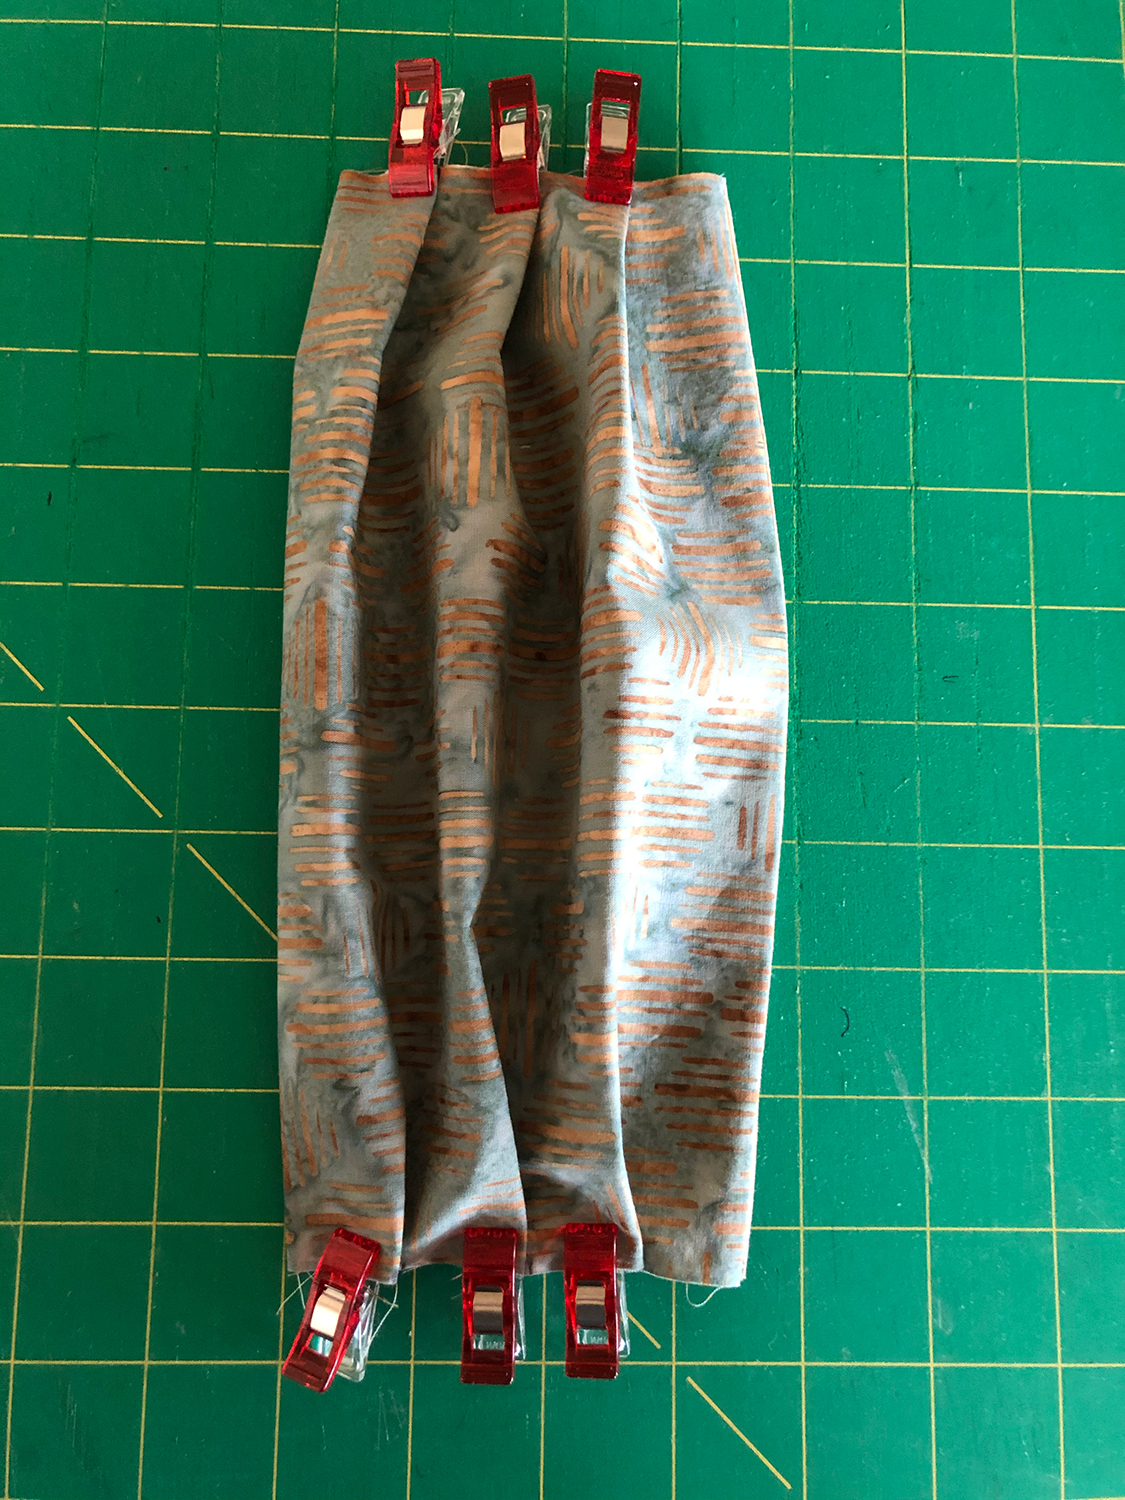
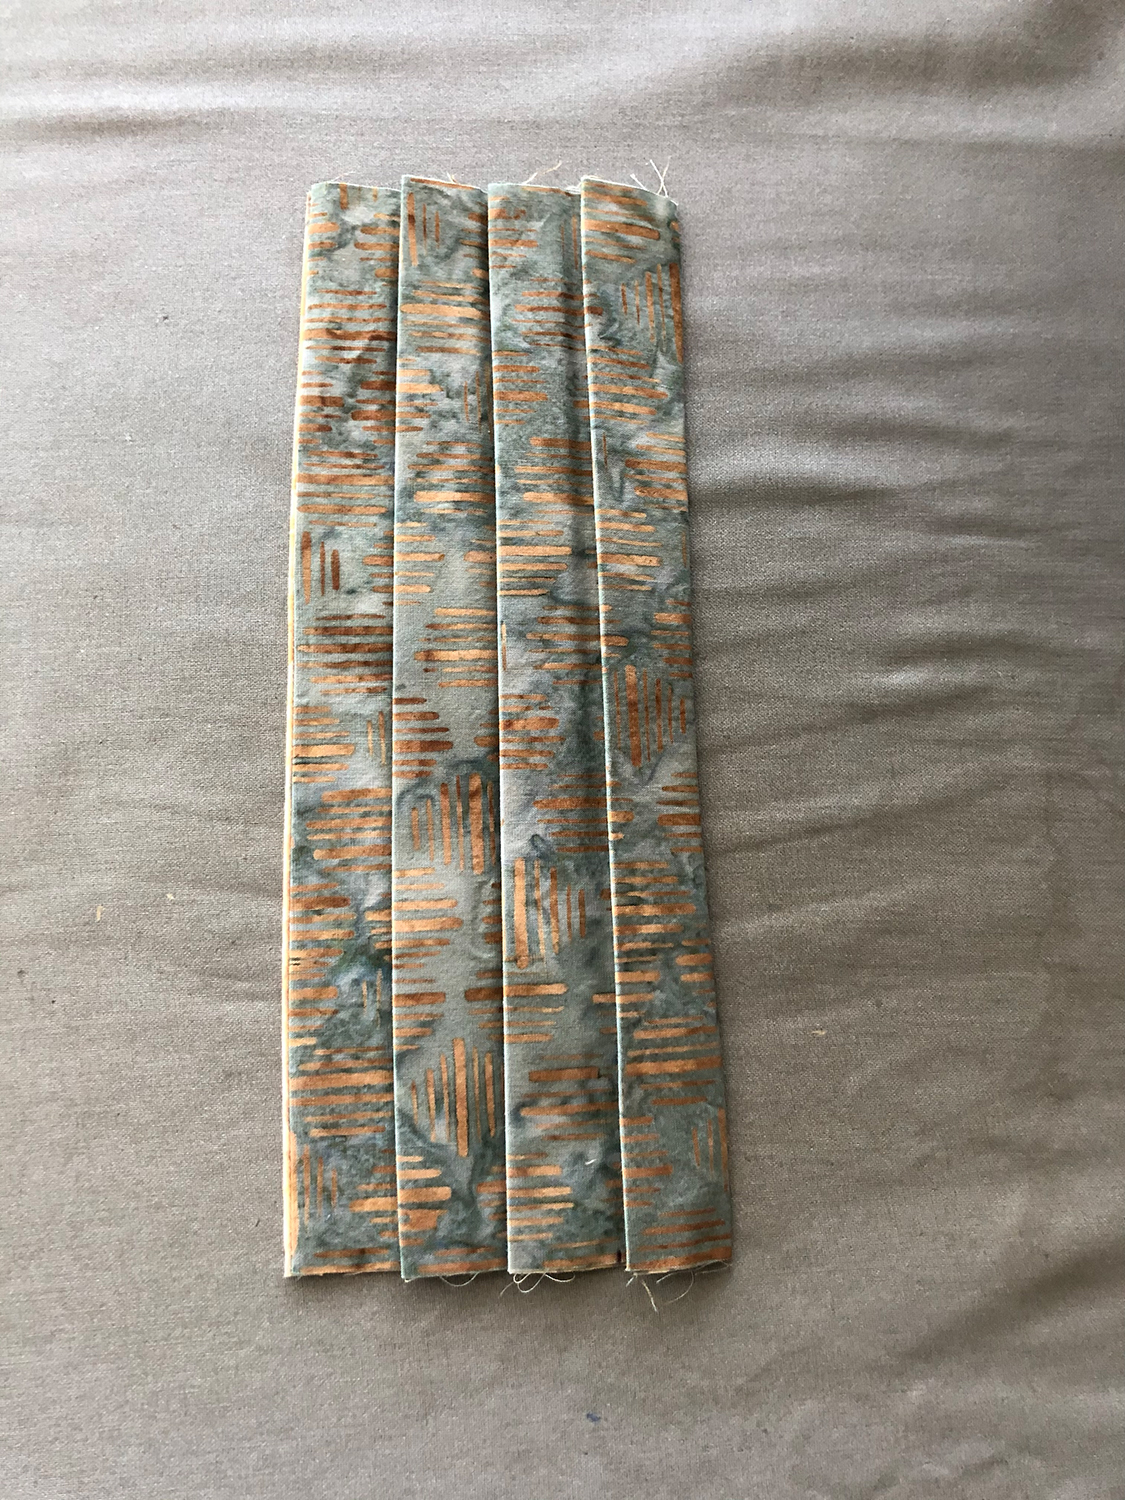
- Mark 1” segments on each of the open ends of the tube. You should have six marks on each end.

- To make the three pleats, on one end fold over the fabric matching mark to mark three times. Use a pin or wonder clip to hold in place. The pleats on the completed mask should face downward on the outside. If you are using a fabric with a directional pattern, take care to orient your pleats correctly. If you had hearts for example, you don’t want them upside down when the user wears the mask. Repeat the process for the other end, matching fold direction to the first end. Press pleats.
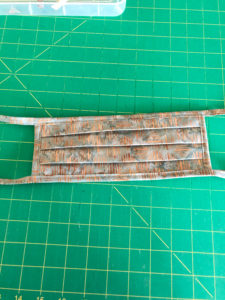
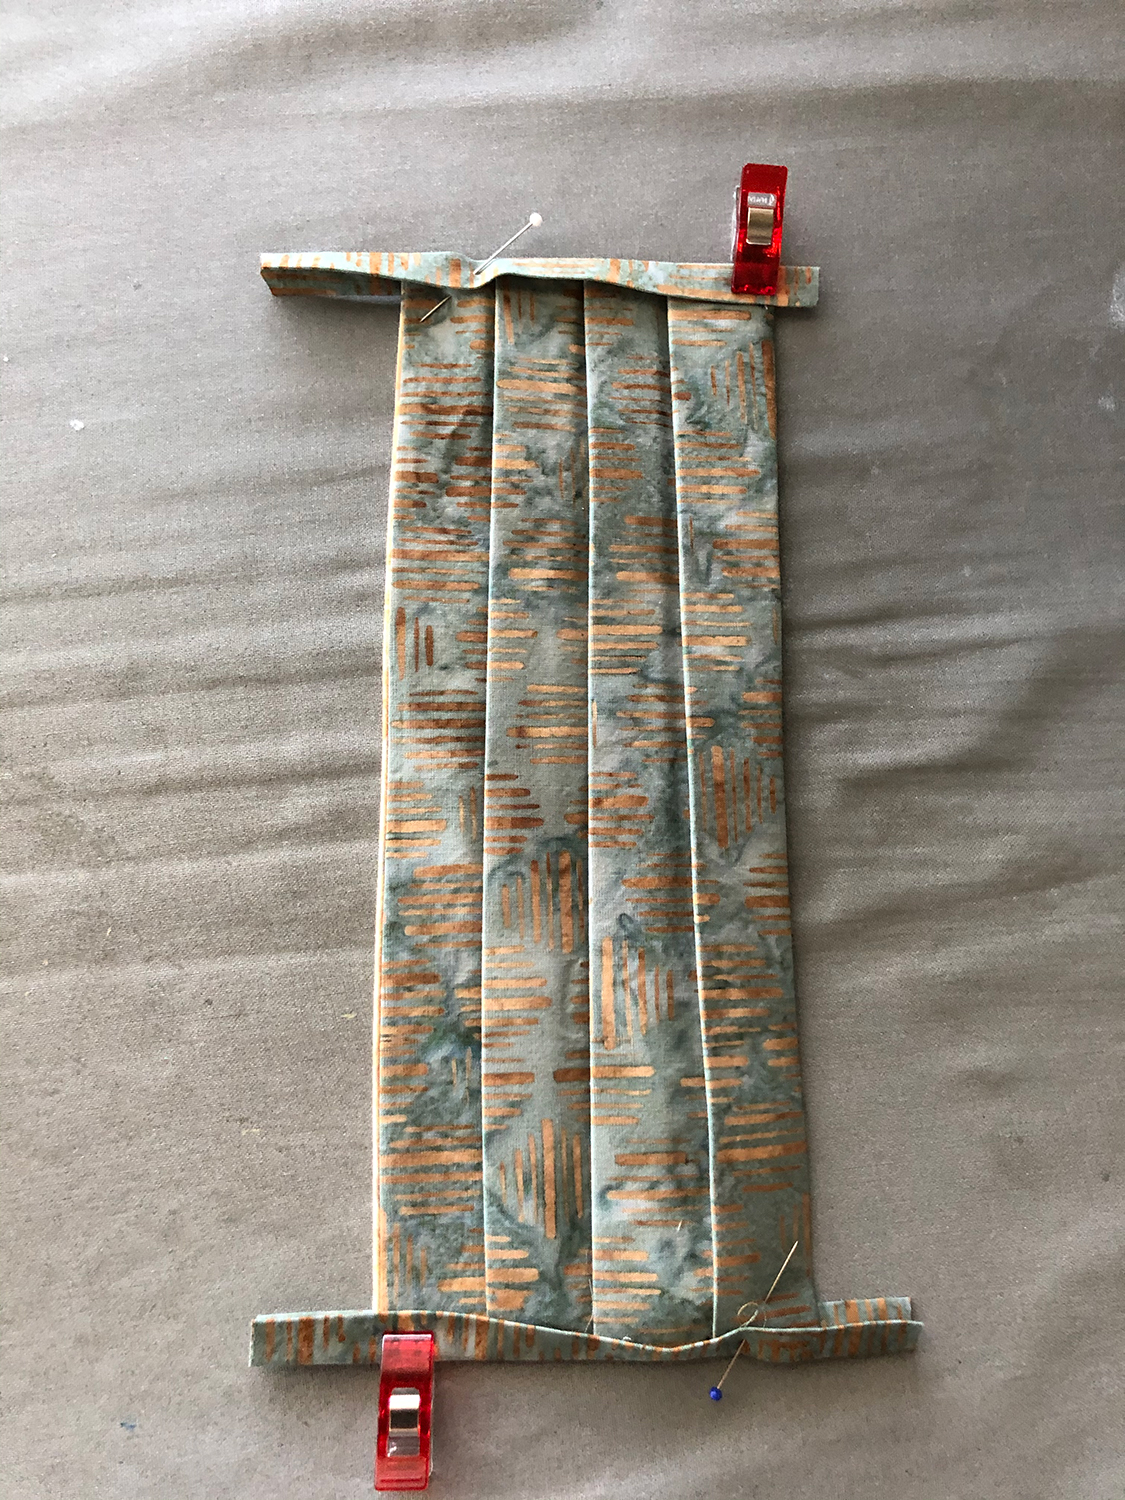
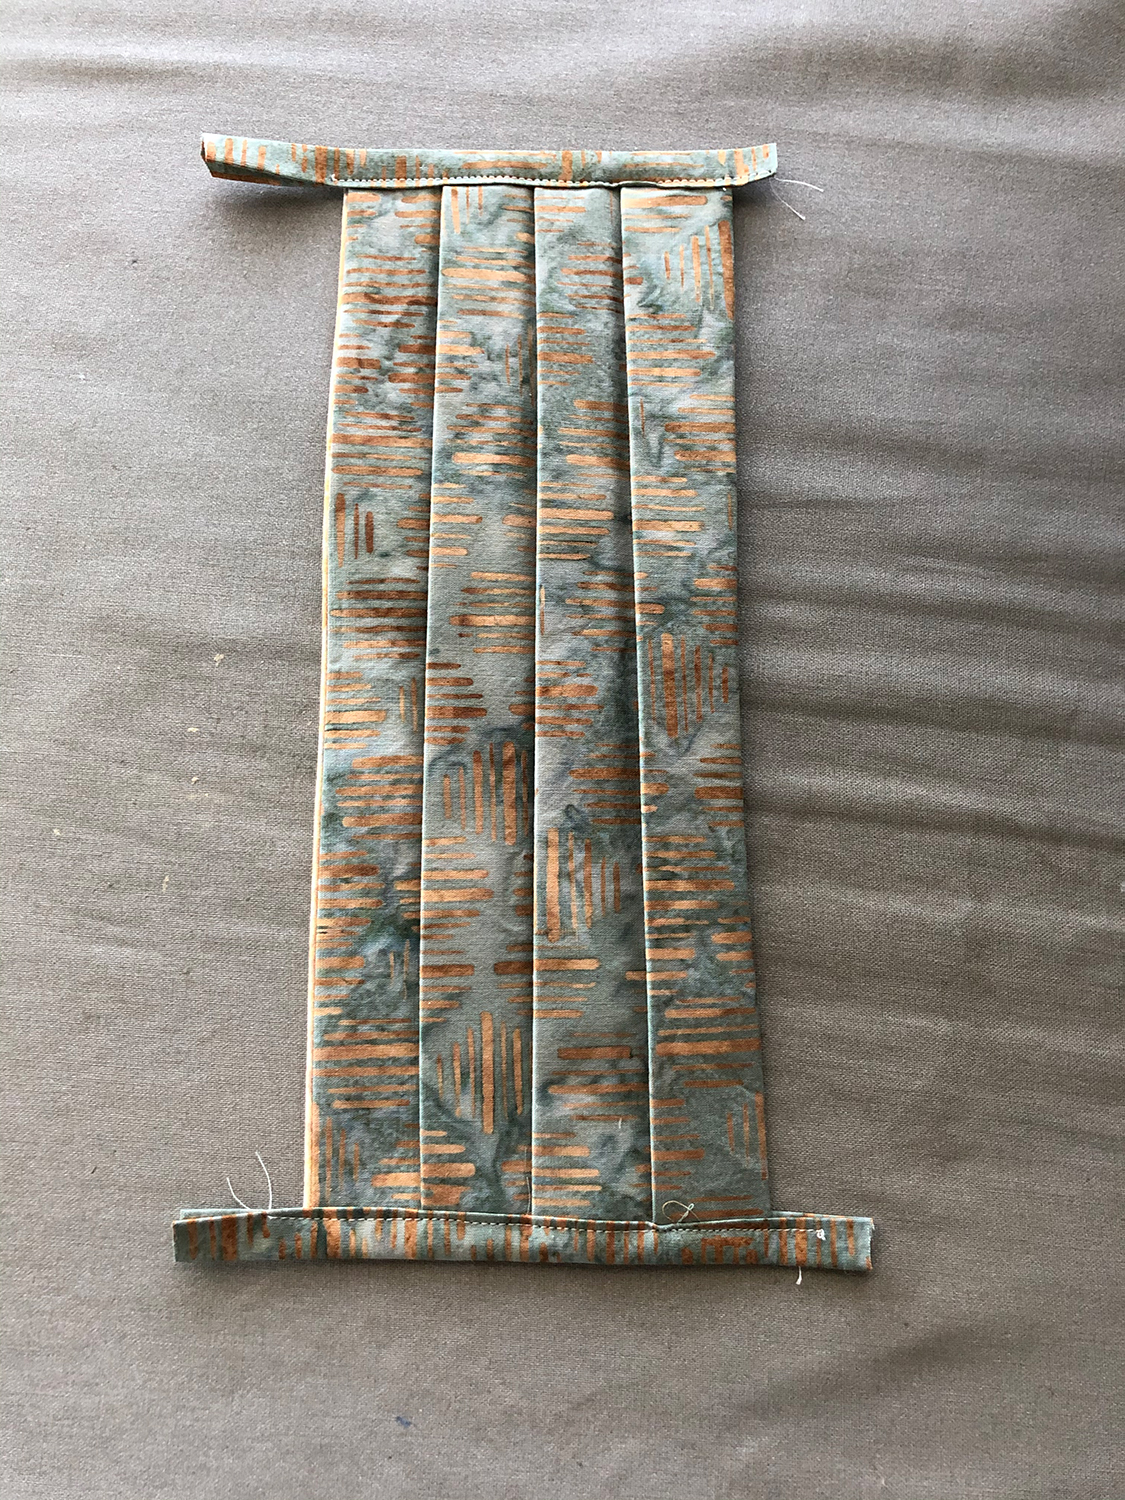
- Using side binding strip from Step 2, sew binding over each end and trim.


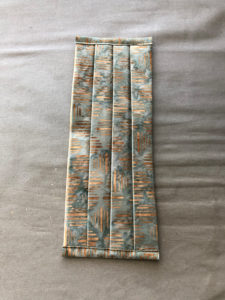
- Center first strip over top edge of binding. Pin in place. Starting at end of binding, sew first side of binding closed, continue to sew along top edge of mask, and then continue sewing to the end of the binding. Repeat the process for the bottom edge of the mask.

- Sew the two 1½” strips together end-to-end as shown. Trim seam allowance and press seam open. Repeat for a second tie.


PDF version: Hobby Stash Scrub Mask